how to draw on surface pro 4
Tutorial
Enabling Pressure Sensitivity on the Surface Pro 4 in Photoshop CS6 and GIMP
TL;DR
1. Download and install the latest Wintab driver from Microsoft's site here.
2. Reboot, then launch your graphics app.
- Photoshop: Pick a brush that uses pressure sensitivity, and start drawing.
- GIMP: Go to Edit > Input Devices.
• Select "Microsoft device Stylus."
• Set the mode to "Screen."
• Pick a brush that uses pressure sensitivity, and start drawing.
The single greatest advantage of Microsoft's high-end Surface Pro 4 tablet over other high-end mobile Windows devices is its pressure-sensitive stylus. So those of you who jumped in with the latest generation of the device may have been perplexed (as I was) to find that some of the most popular graphics apps out there — including older versions of Photoshop (CS6) and even the open source GIMP — were incapable of using stylus pressure ... even though they worked just dandily on the Surface Pro 3.
Almost as perplexing was the lack of a workaround to the problem — at least as far as I could find — from Microsoft, Adobe or the Internet in general.
But the workaround is actually quite simple — and even official. It's just very, very poorly documented.
The one thing you need in order to make both Photoshop and GIMP work with the Surface Pro 4's pressure-sensitive stylus is the latest Wintab driver from Microsoft.
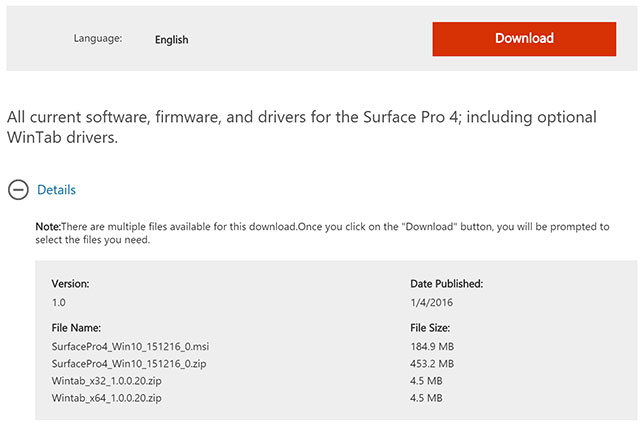
Download and install it from Microsoft's site here.
Expand the "Details" button to see what's available. Click the Download button to choose which of the files you want to install.
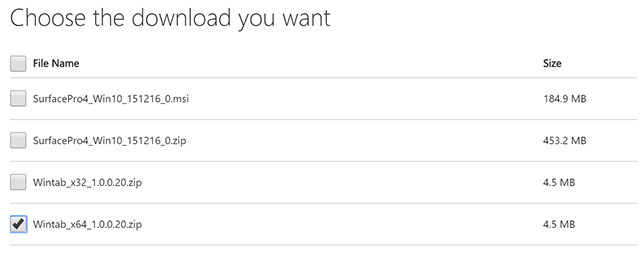
Check the option for Wintab_x64_1.0.0.20.zip (or whatever the latest version is when you read this). You can also, alternately, choose to download and install all of the driver updates contained in the other packages.
Once it downloads, expand the zip file, then run the WinTab_Setup_x64 application, following all of the onscreen instructions.
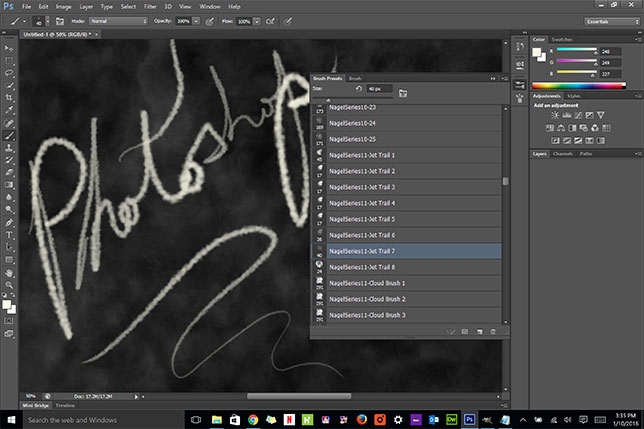
Go through the install process, then reboot and launch Photoshop (CS6 in my case). There are no further steps required for Photoshop. Et voila! Pressure sensitivity abounds!
In GIMP, there are additional steps required. Go to Edit > Input Devices to open the Configure Input Devices dialog. In the list on the left, select "Microsoft device Stylus," and set the Mode to "Screen" (as pictured).
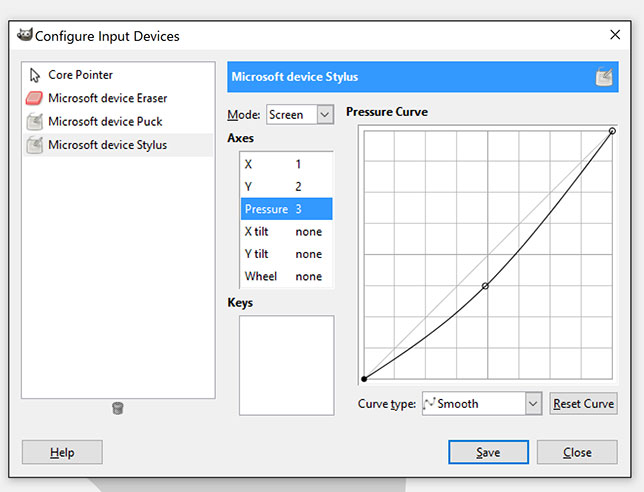
You may also adjust the pressure curve to your liking, but in the current version of the software there doesn't seem to be much of an effect either way.
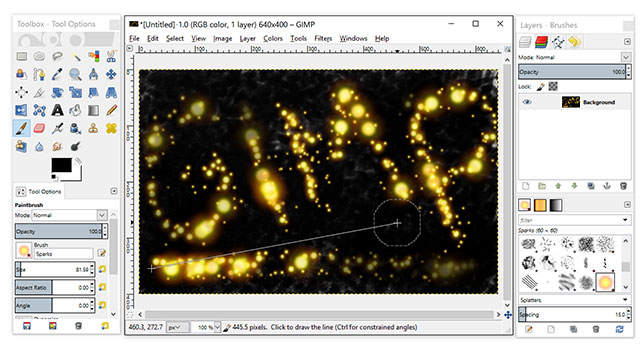
It's also worth noting that pressure sensitivity in GIMP is still a little wonky, as it doesn't seem to register full pressure at this time with some brushes.
About the Author

David Nagel is editorial director of 1105 Media's Education Technology Group and editor-in-chief of THE Journal and STEAM Universe. A 29-year publishing veteran, Nagel has led or contributed to dozens of technology, art and business publications.
He can be reached at [email protected]. You can also connect with him on LinkedIn at or follow him on Twitter at @THEDavidNagel (K-12) or @CampusTechDave (higher education).
Email Address* * * Country* * Select primary job title/function* * Select place of work* *
Please type the letters/numbers you see above.
Whitepapers
-
Gamechanger: The Real Digital Gap
Schools and districts are busy laying out plans for spending millions in federal relief funds. And while it's apparent much of those funds are being invested in technology initiatives, it's less clear how much is being spent on securing that same technology—which could spell trouble for K-12. Download this informative Gamechanger now to learn more. Read more...
how to draw on surface pro 4
Source: https://thejournal.com/articles/2016/01/11/enabling-pressure-sensitivity-on-the-surface-pro-4-in-photoshop-cs6-and-gimp.aspx
Posted by: dayintere.blogspot.com

0 Response to "how to draw on surface pro 4"
Post a Comment